Initial setup
On the first launch of Maia, opening http://localhost:3690 will take you to the setup wizard. You can also visit /setup directly.
The goal of this wizard is: write Maia’s base configuration into the data directory and create the first admin account.
The wizard has 4 steps: Appearance → Data directory/Database → Admin → Done.
Appearance
Section titled “Appearance”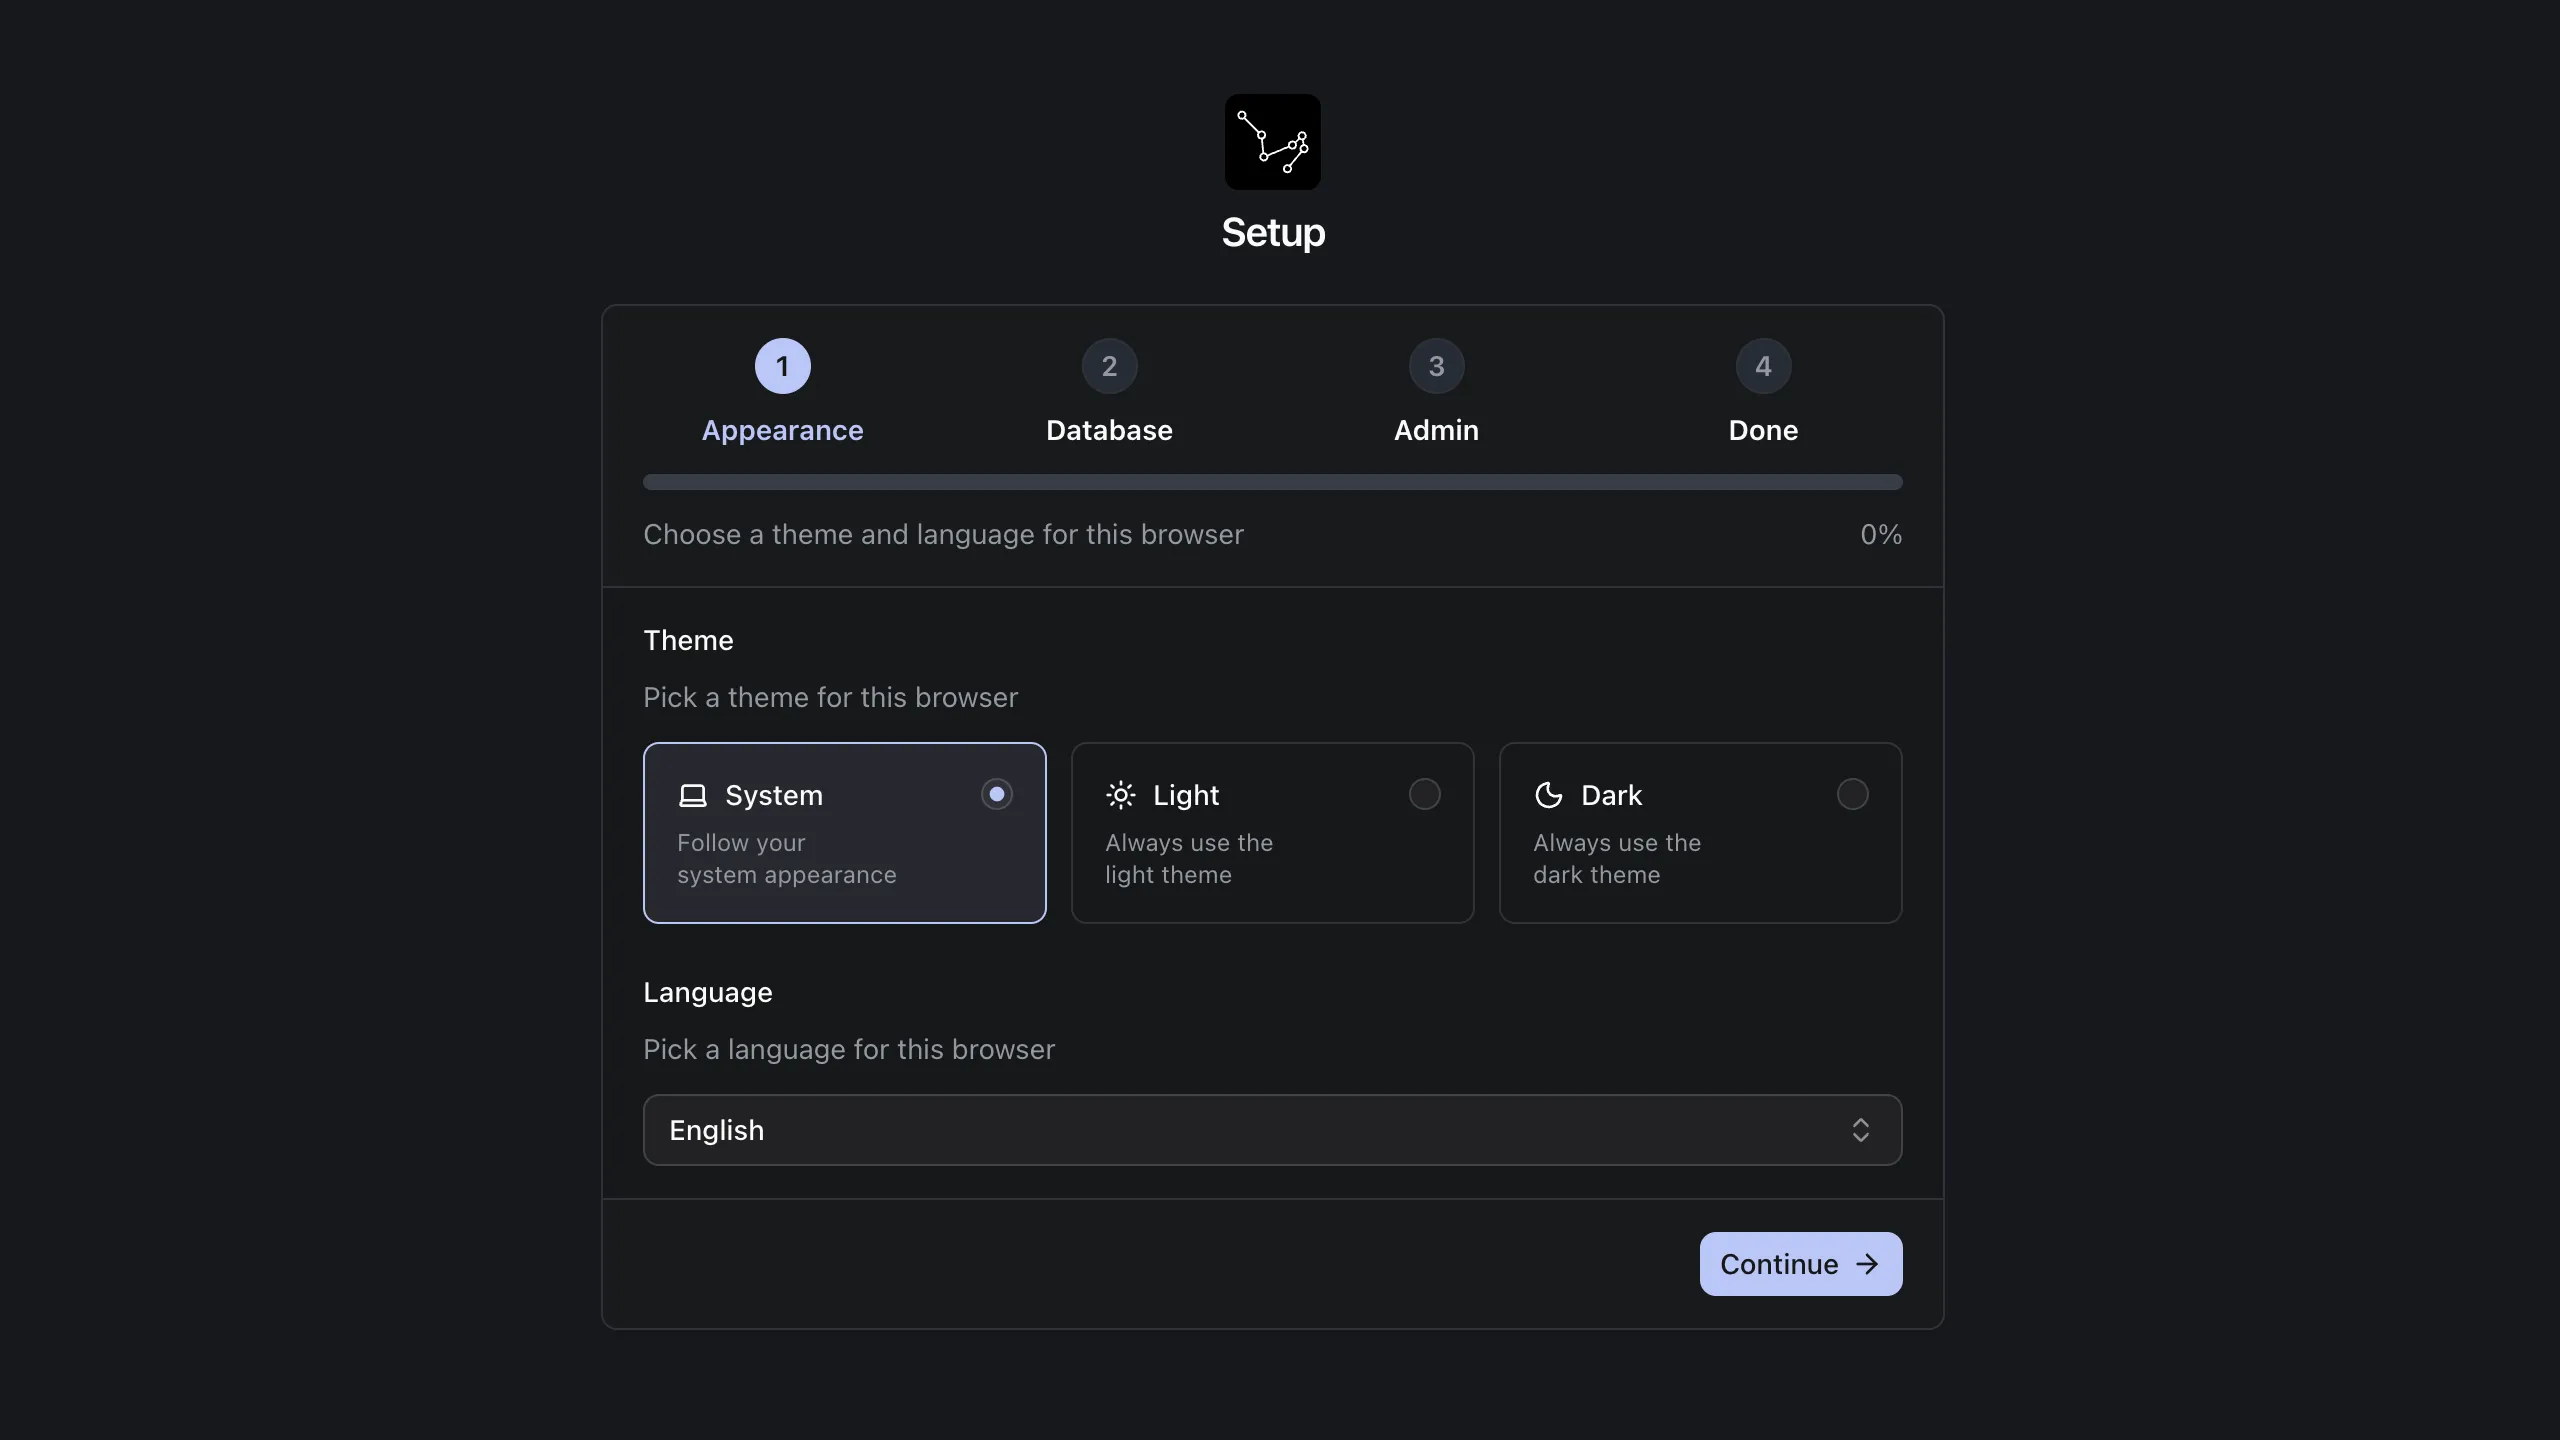
Choose your preferred theme and language. This only affects the UI and doesn’t impact execution.
- Theme: system / light / dark
- Language: English / Chinese (Simplified)
Database
Section titled “Database”
Maia uses SQLite by default. This page is actually selecting the “instance data directory (Data Directory)”—the database file, configuration, and runtime data will all live here. You can think of it as Maia’s “working directory”.
- Database file:
<data directory>/db.sqlite - Instance config file:
<data directory>/settings/instance.json. The wizard writes your chosen path into this file.
When you finish this step and proceed, it usually means:
- The data directory is writable
- Maia can create/read the SQLite database file in that directory
Admin account
Section titled “Admin account”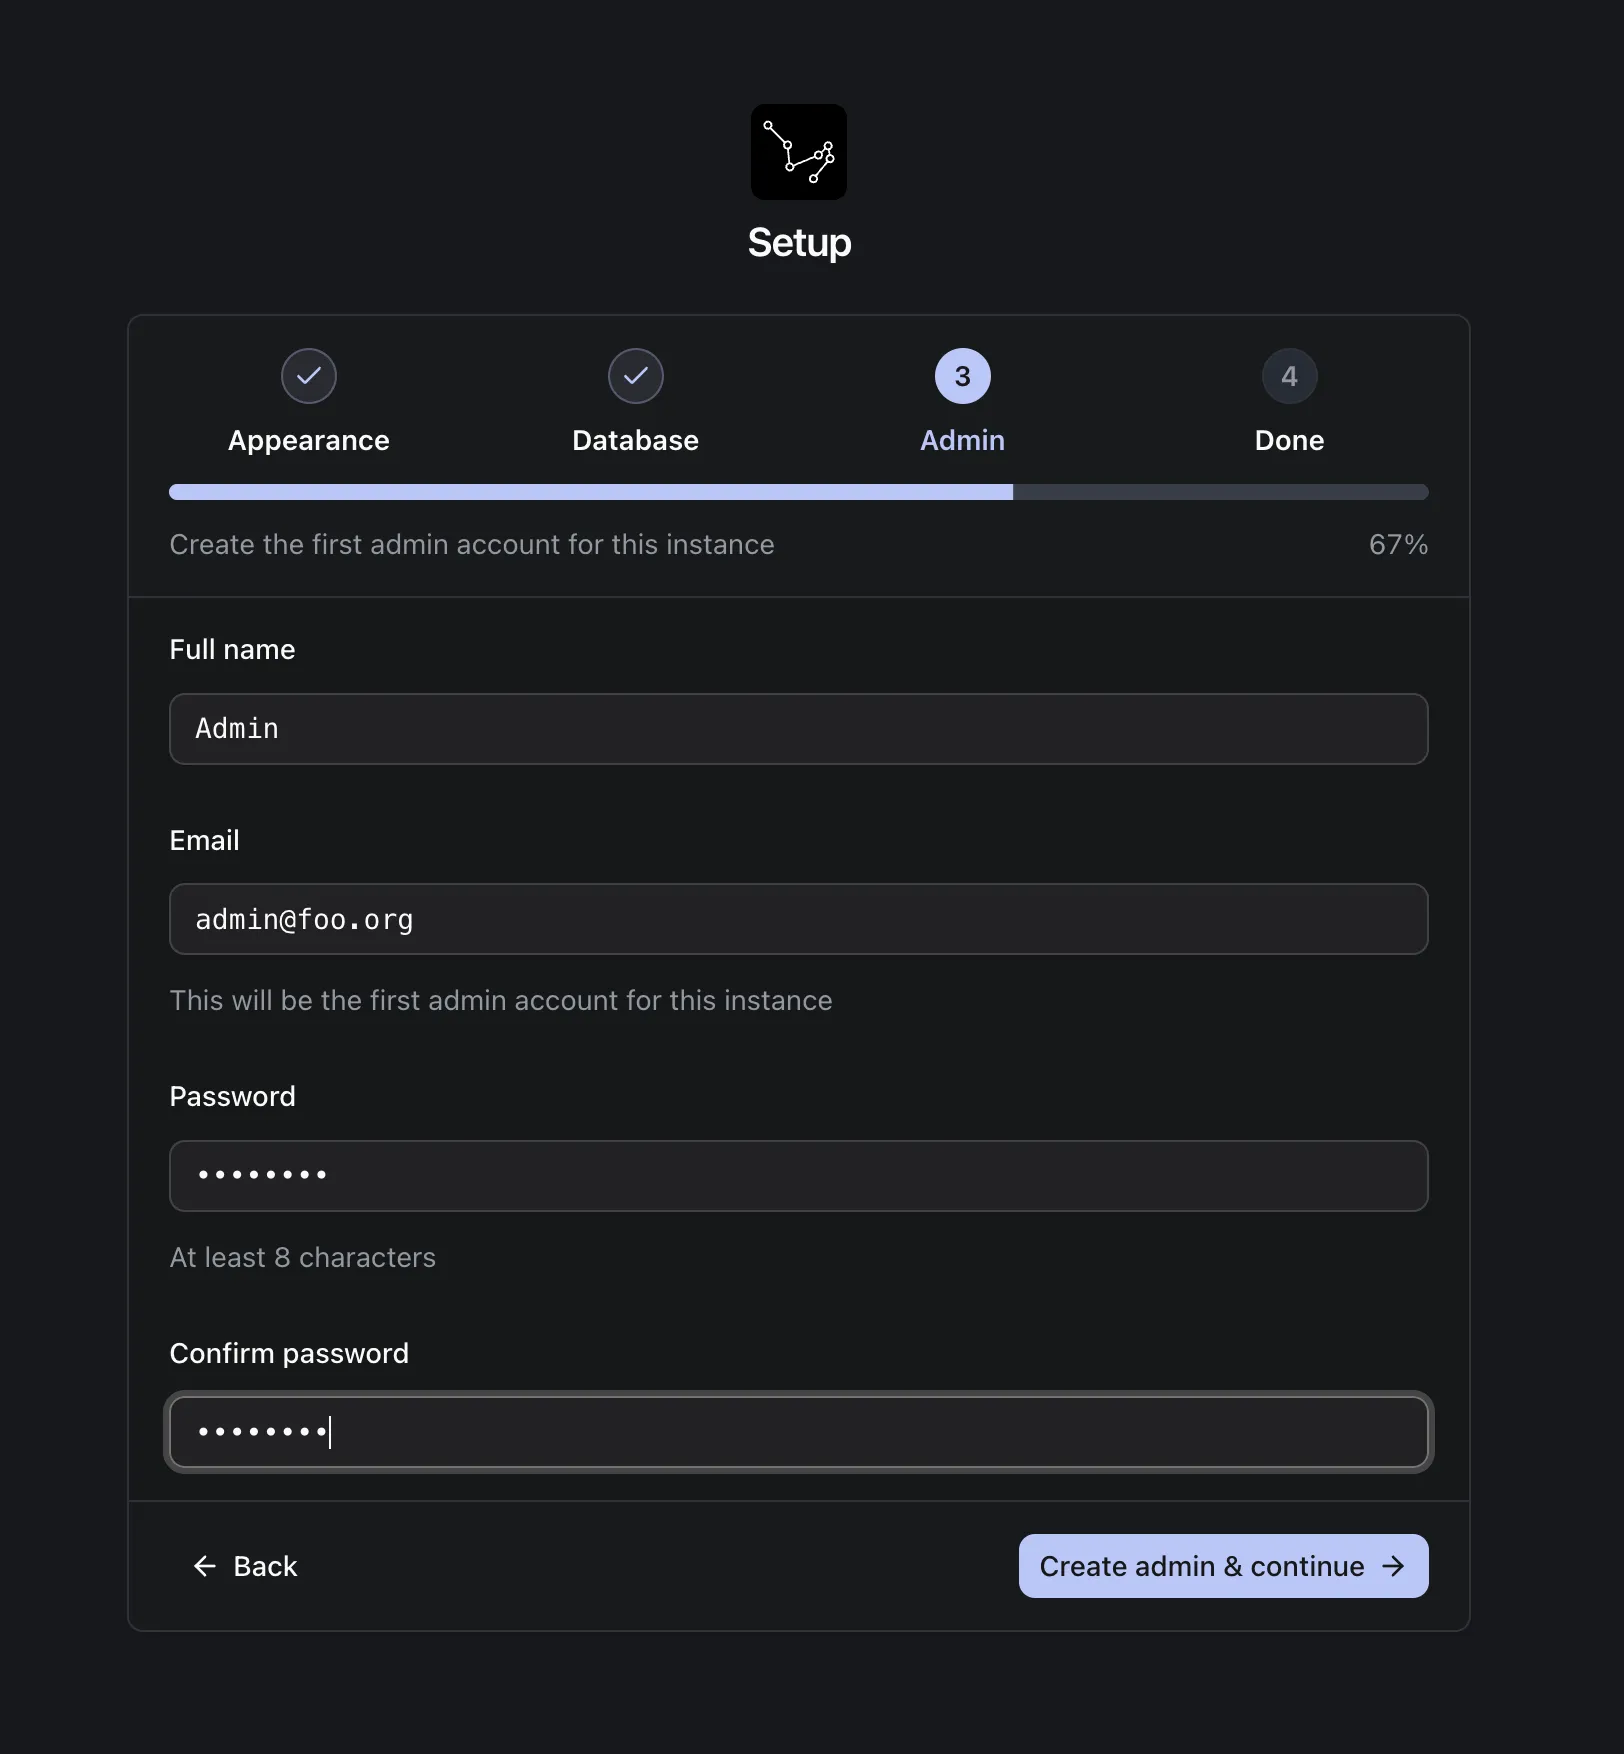
Create the first admin account. After successful creation you’ll be logged in automatically:
- Name: required
- Email: required, must be a valid email format
- Password: 8–256 characters
- Confirm password: must match the password
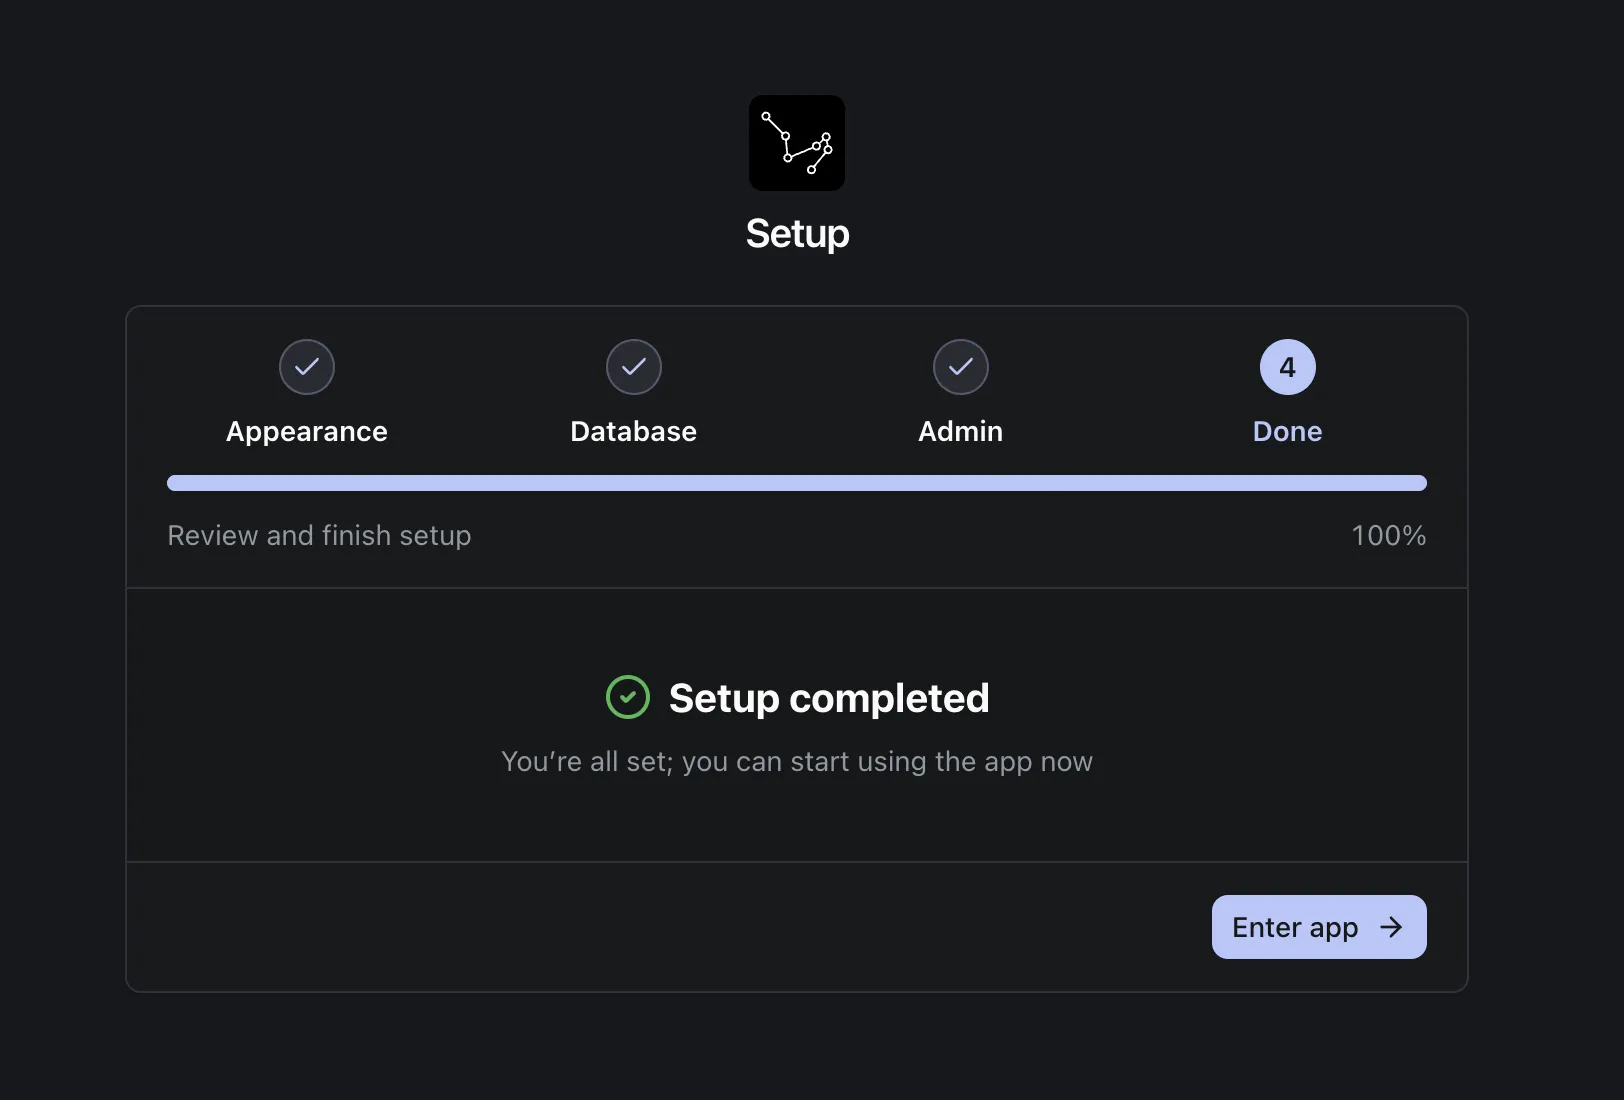
Click Enter app to jump to the Maia home page and start using it.